

Baking Directions
-
Gingerbread Cookie Jar Kit
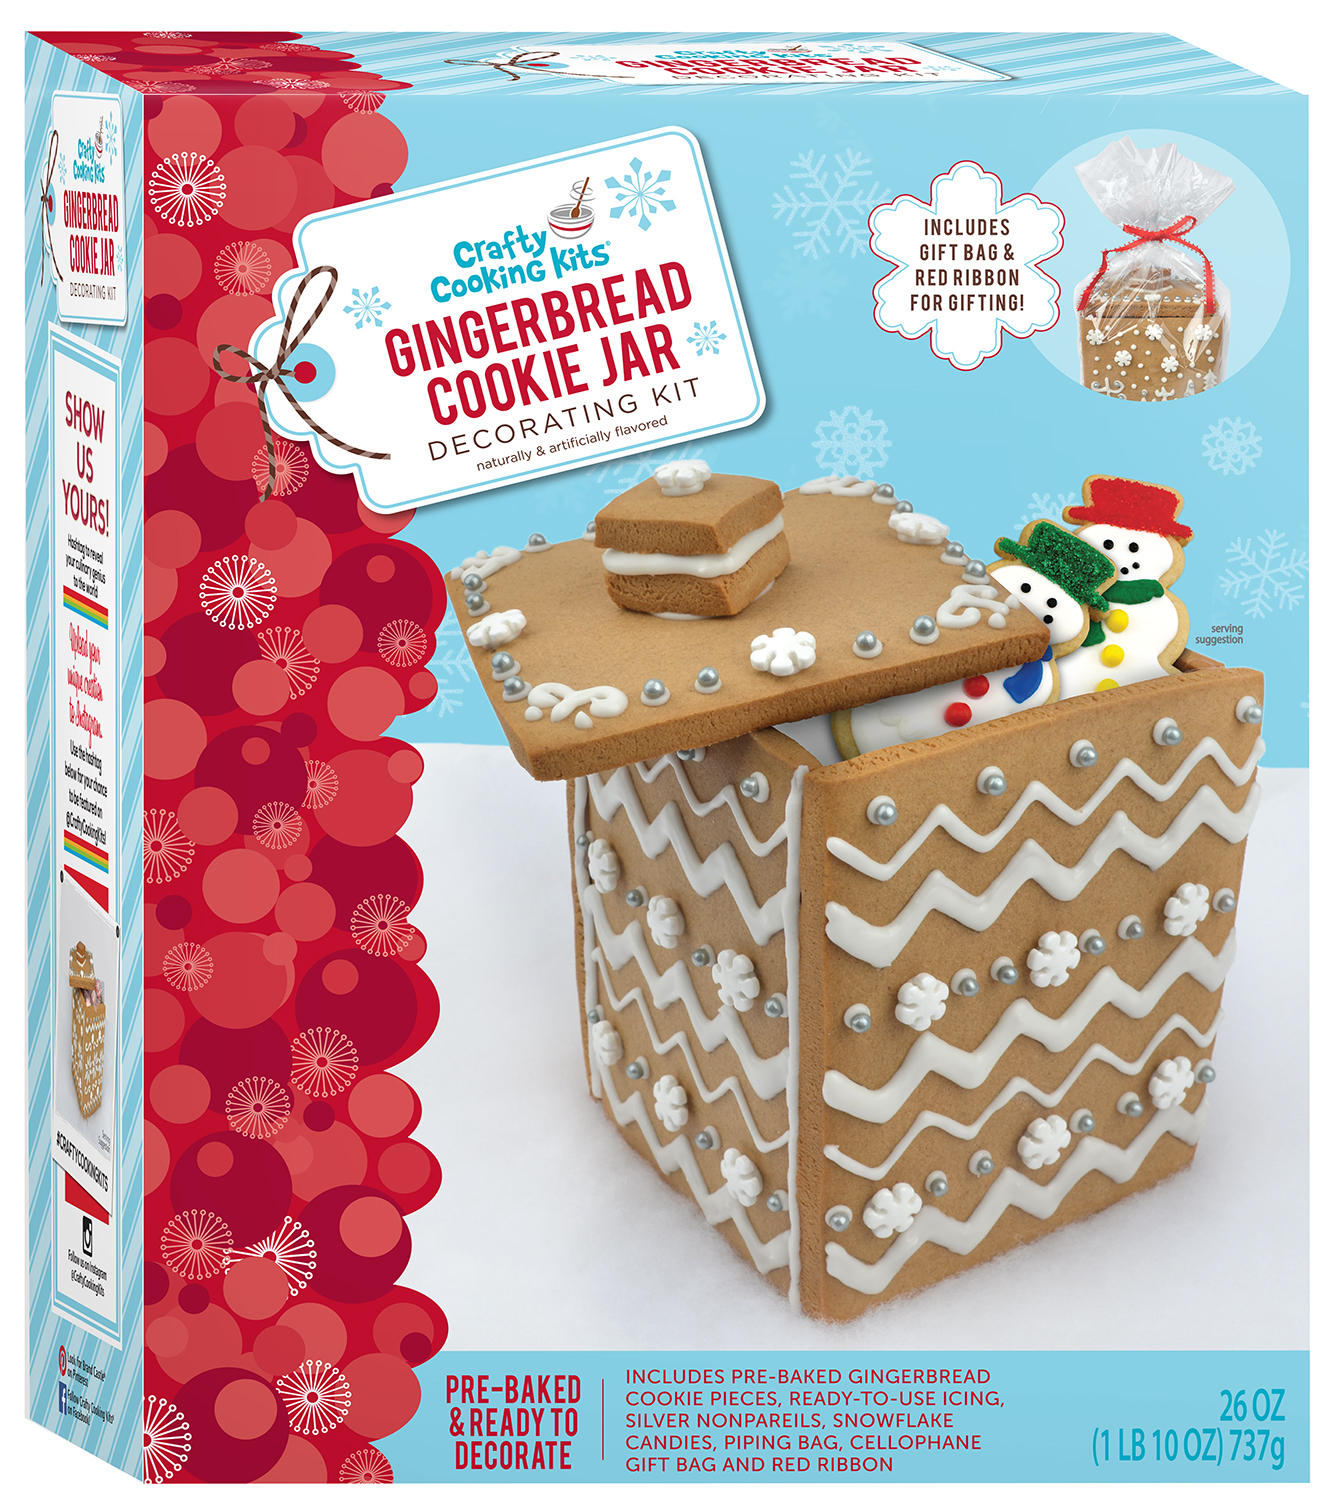
Gingerbread Cookie Jar Kit
Email These Directions6/2/17
DECORATE1. Carefully remove cookie pieces from packaging and lay out on a flat surface with smooth sides of cookies facing up.
2. Knead icing pouch for 1 minute to a smooth consistency. Snip a 1/4-inch opening.
3. Squeeze half of the icing pouch into a small bowl. This will be used to decorate the jar. Set aside the remaining pouched icing to assemble the jar later. Add 1 1/2 teaspoons water to the icing in the bowl and stir well to combine.
4. Stand the piping bag in a tall glass and pull over edges to hold open. Use a spatula to scrape icing into piping bag. Twist top to close. HINT: Use a small rubber band to help hold the top closed.
5. Snip a small tip off the end of the piping bag. HINT: Do not cut the tip too large, you can always make it larger later if necessary. Gently squeeze icing to the tip and pipe designs on cookie pieces. Adhere candy snowflakes and nonpareils to wet icing. Set pieces aside and allow to dry at least 30-45 minutes before assembling. HINT: Place decorated pieces in the refrigerator to speed the process.ASSEMBLE
1. Refer to Figure 1 as a guide for assembly order of jar’s outer walls. Using the reserved icing in the pouch, squeeze a line of icing along the bottom edge and side of piece F and along the bottom edge of piece D (Figure 2). Press piece F gently against the edge of piece B (Figure 3). Press piece D into place along the edge of piece B and F (Figure 4).
2. Squeeze a line of icing along the exposed edge of piece F and the edge of piece B (Figure 5). Gently press piece E into place (Figure 6).
3. Squeeze icing onto the exposed edges of pieces E, D and B and gently press piece G into position (Figure 7).
4. Squeeze a dab of icing onto the rough side of piece A1 and press A1 and A2 together, rough side to rough side, to create the jar’s handle. Squeeze a small dab of icing onto the center of piece C and press the knob into place (Figure 8). Allow the entire jar to set firmly before filling with treats.Yield: 1 Gingerbread Jar
-
Gingerbread Cookie Nativity Kit
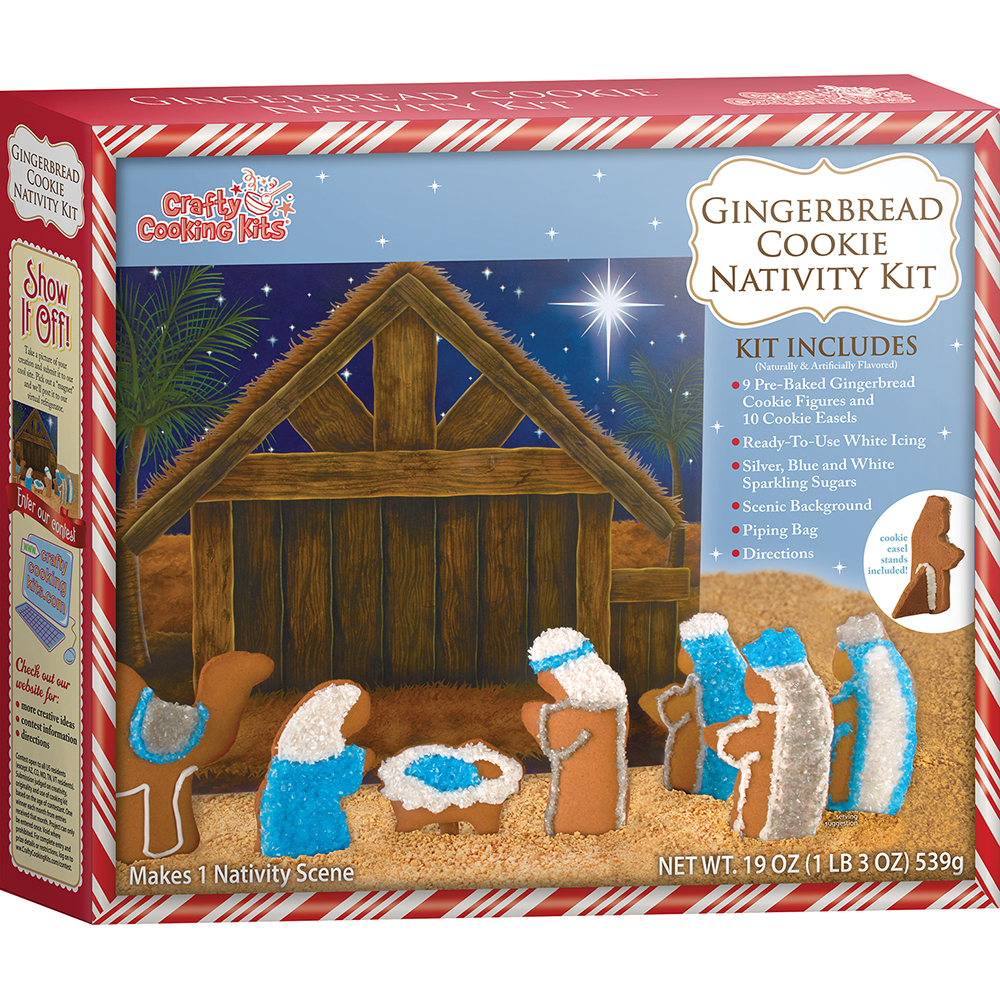
Gingerbread Cookie Nativity Kit
Email These DirectionsYou will need:
Platter or cutting board to be used as base for assembly and presentation, optionalDirections:
ADULT SUPERVISION REQUIRED
Decorate cookies
1. Read directions all the way through before beginning. Carefully remove cookie pieces from packaging and lay out on a flat surface with smooth side of cookies facing up. Refer to diagram to help identify all pieces to be used in assembly. Empty sugars into small bowls.
2. Knead icing pouch for 1 minute to a soft, smooth consistency. Cut a corner off the pouch and transfer 3/4 of icing to piping bag, saving remaining icing for later use. HINT: Drape the piping bag over edges of a glass to make filling easier and use a spatula to fill with icing. Cut a small tip off piping bag and twist top to close. Do not cut the opening too large!
3. Pipe icing onto each cookie as desired. Use a butter knife to spread icing over larger areas. Immediately press sugars onto icing and tap off excess. HINT: For easier cleanup, place cookies on rimmed baking pan before applying sugars. Sugars applied to fine lines of icing may need to be pressed into place with the aid of a toothpick or butter knife. Refer to box for inspiration. Transfer reserved icing from foil pouch into piping bag, twist top to close, and set aside for later. Allow cookies to dry completely, approximately 30 minutes.Assemble Nativity scene
1. Gently run a plastic knife or the straight edge of a ruler over the score lines of the cookie easels and break into 10 pieces. You will have 1 extra piece.
2. When decorated cookies have set, pipe a thick line of icing onto one of the perpendicular sides of an easel. Center it onto the back of a Nativity cookie, ensuring both the bottom of the cookie as well as the easel rests firmly on a flat surface or counter. A raised-edge baking pan or kitchen counter wall makes a fine support. Repeat with all cookies and easels and allow to dry 30 minutes before carefully moving.
3. Arrange Nativity scene on platter or cutting board (if using) in front of crèche backdrop. Admire and enjoy!Yield: 1 RTE Gingerbread Nativity Scene
-
Hanukkah Cupcake Kit
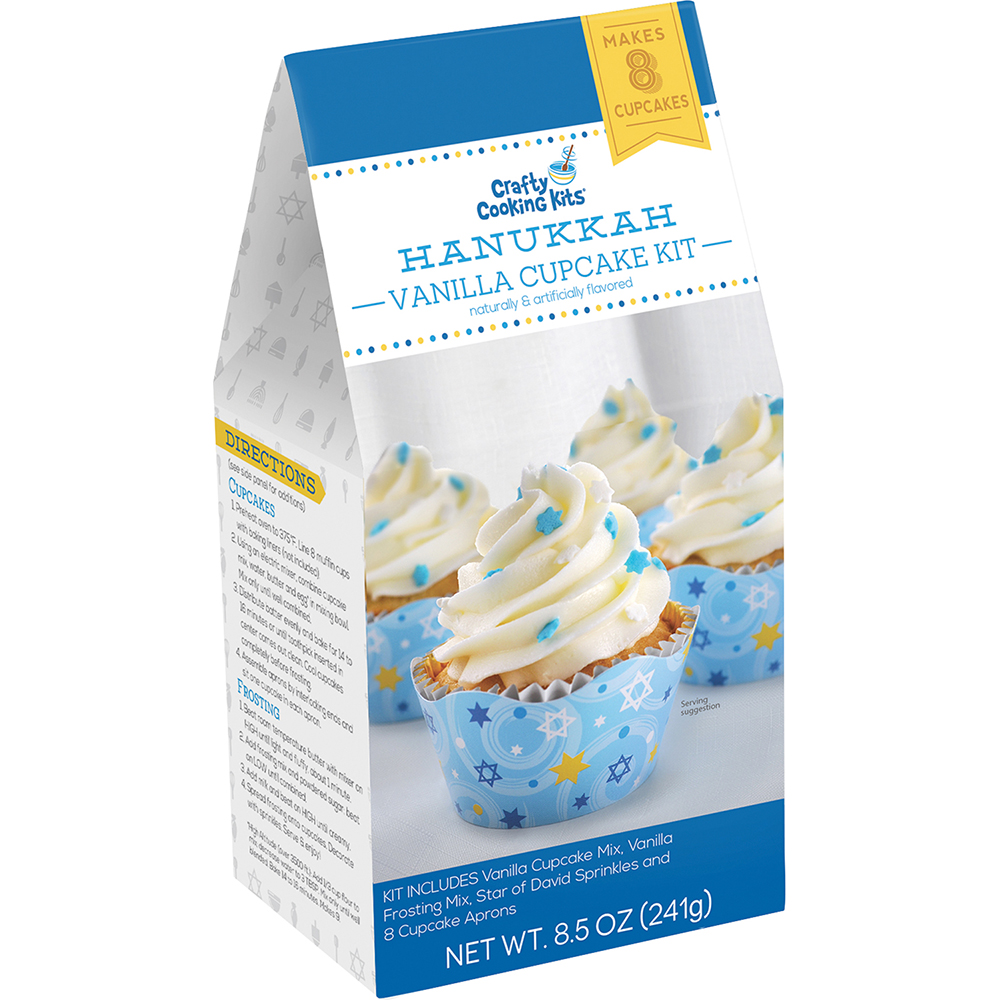
Hanukkah Cupcake Kit
Email These DirectionsYou will need:
For Cupcakes: For Frosting:
3 TBSP. room temperature butter 4 TBSP. room temperature butter
1/3 cup water 1 cup powdered sugar
1 egg 1 TBSP. milk8 baking liners (not included)
Directions:
Cupcakes
1. Preheat oven to 375°F. Line 8 muffin cups with baking liners (not included).
2. Using an electric mixer, combine cupcake mix, water, butter, and egg* in mixing bowl. Mix only until well combined.
3. Distribute batter evenly and bake for 14 to 16 minutes or until toothpick inserted in center comes out clean. Cool cupcakes completely before frosting.
4. Assemble aprons by interlocking ends and sit one cupcake in each apron.Frosting
1. Beat room temperature butter with mixer on HIGH until light and fluffy, about 1 minute.
2. Add frosting mix and powdered sugar; beat on LOW until combined.
3. Add milk and beat on HIGH until creamy.
4. Spread frosting onto cupcakes. Decorate with sprinkles. Serve & enjoy!*High Altitude (over 3500 ft.): Add 1/3 cup flour to mix; decrease water to 3 TBSP. Mix only until well blended. Bake 14 to 16 minutes. Makes 9.
Yield 8 Happy Hanukkah Cupcakes
-
Hanukkah Paint-A-Cookie Kit
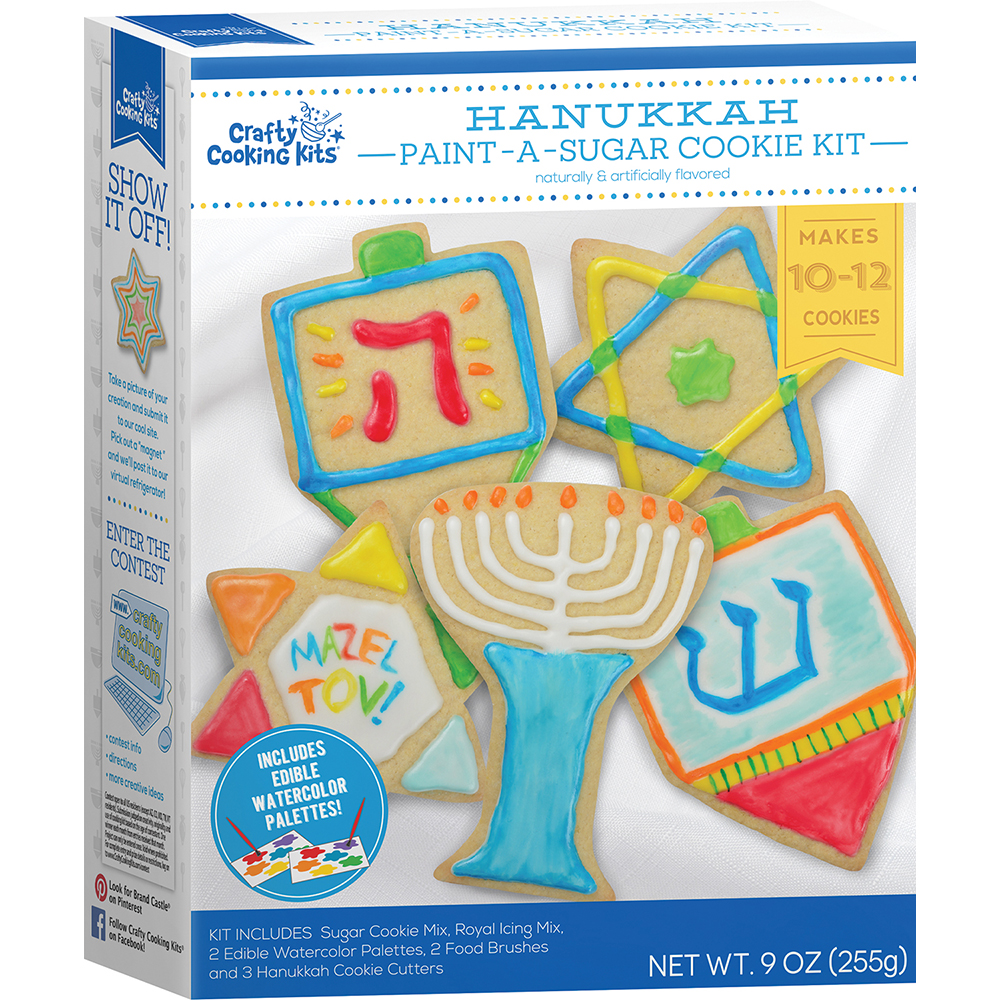
Hanukkah Paint-A-Cookie Kit
Email These DirectionsYou will need:
For sugar cookies:
4 TBSP. room temperature butter
1 eggFor royal icing
5 tsp. water
1 cup powdered sugarDirections
Prepare
ADULTS Preheat oven to 350°F. Lightly grease baking sheet. Wash cutter with warm, soapy water and dry thoroughly.
KIDS Be sure to wash hands. Cooking can be messy work. You might want to wear a smock or apron.Mix
ADULTS Combine cookie mix, butter and egg*. Mix by hand or with an electric mixer until well blended.
KIDS On a lightly floured surface, roll cookie dough to 3/16-inch thick. Make shapes with cutters, gathering and rerolling dough as needed. HINT: If dough becomes sticky, place in refrigerator for 10 minutes, also flour rolling pin and dough liberally. Place 2 inches apart on prepared baking sheet.Bake
ADULTS Bake for 12 to 15 minutes or until edges are golden brown. Remove cookies from oven and let cool on baking sheet for 1 minute. Transfer to rack to cool completely.Ice
ADULTS In a small mixing bowl, combine icing mix and water, stir until dissolved. Add powdered sugar and whisk with a fork until smooth.
KIDS Spread icing on each cookie. Refer to box for inspiration. Icing will dry completely in 45 minutes at room temperature or place cookies in refrigerator to speed up the process.Decorate
ADULTS Place a bowl of water and paper towel next to each work area. Remove watercolor palettes and paintbrushes from pouches.
KIDS Wet brush and tap to remove excess water. Place tip of brush into part of one color on edible watercolor palette and rub gently to activate color. Paint cookies as desired, rinsing brush between colors. Place finished cookies on a platter and enjoy!*High Altitude (over 3500 ft.): Add 3 TBSP. flour and 2 TBSP. water to mix. Mix as directed. Place dough in refrigerator for 10 minutes before beginning rolling process.
Yield: 10-12 Happy Hanukkah Sugar Cookies
-
Hanukkah Pre-Baked Sugar Cookie Kit
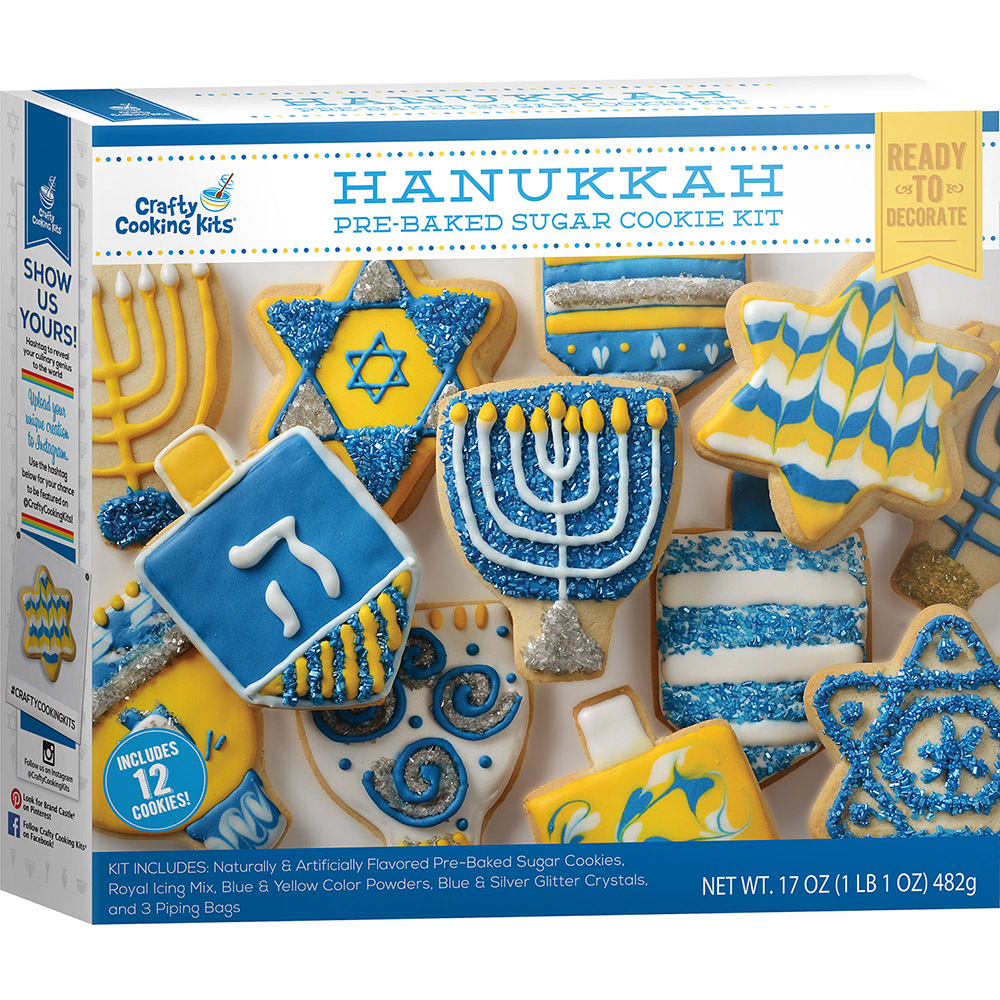
Hanukkah Pre-Baked Sugar Cookie Kit
Email These DirectionsFor royal icing: (*Made to be loose: do not print this)
3 TBSP. + 2 tsp. water
1 cup powdered sugartoothpicks for use in decorating process
Directions:
1. Remove cookies from packaging and place on work surface or plate. Empty sugars into small bowls.
2. Dissolve royal icing mix in water, whisking well. Add powdered sugar and whisk well until dissolved. Divide icing into 3 bowls. Add contents of blue color pouch to one bowl, whisking well until all color is incorporated. Repeat process with yellow color pouch. Keep last bowl white.
3. Stand a piping bag in a tall glass and drape over the edge to hold open. Use a spatula to transfer one color of icing to piping bag. Twist top of bag to close and set aside, keeping bag in glass. Repeat with remaining piping bags, icing, and glasses.
4. Working with one cookie at a time, cut a small corner off of first piping bag and squeeze a dollop onto the center of the cookie. Use an offset spatula or butter knife to spread evenly. If desired, pipe contrasting designs with remaining colors while base icing is still wet. Use a toothpick to drag colors gently through icing, creating marbled and other ornate designs. Refer to box for inspiration. Immediately sprinkle with colored sugars as desired. Set cookie aside to dry while decorating others. Icing will set in 30 minutes. HINT: Place decorated cookies in refrigerator to quicken the set time. Transfer to a serving platter and enjoy!Yield: 12 Iced Hanukkah Sugar Cookies
-
Kellogg’s Rice Krispies Treats Bird Nest Kit
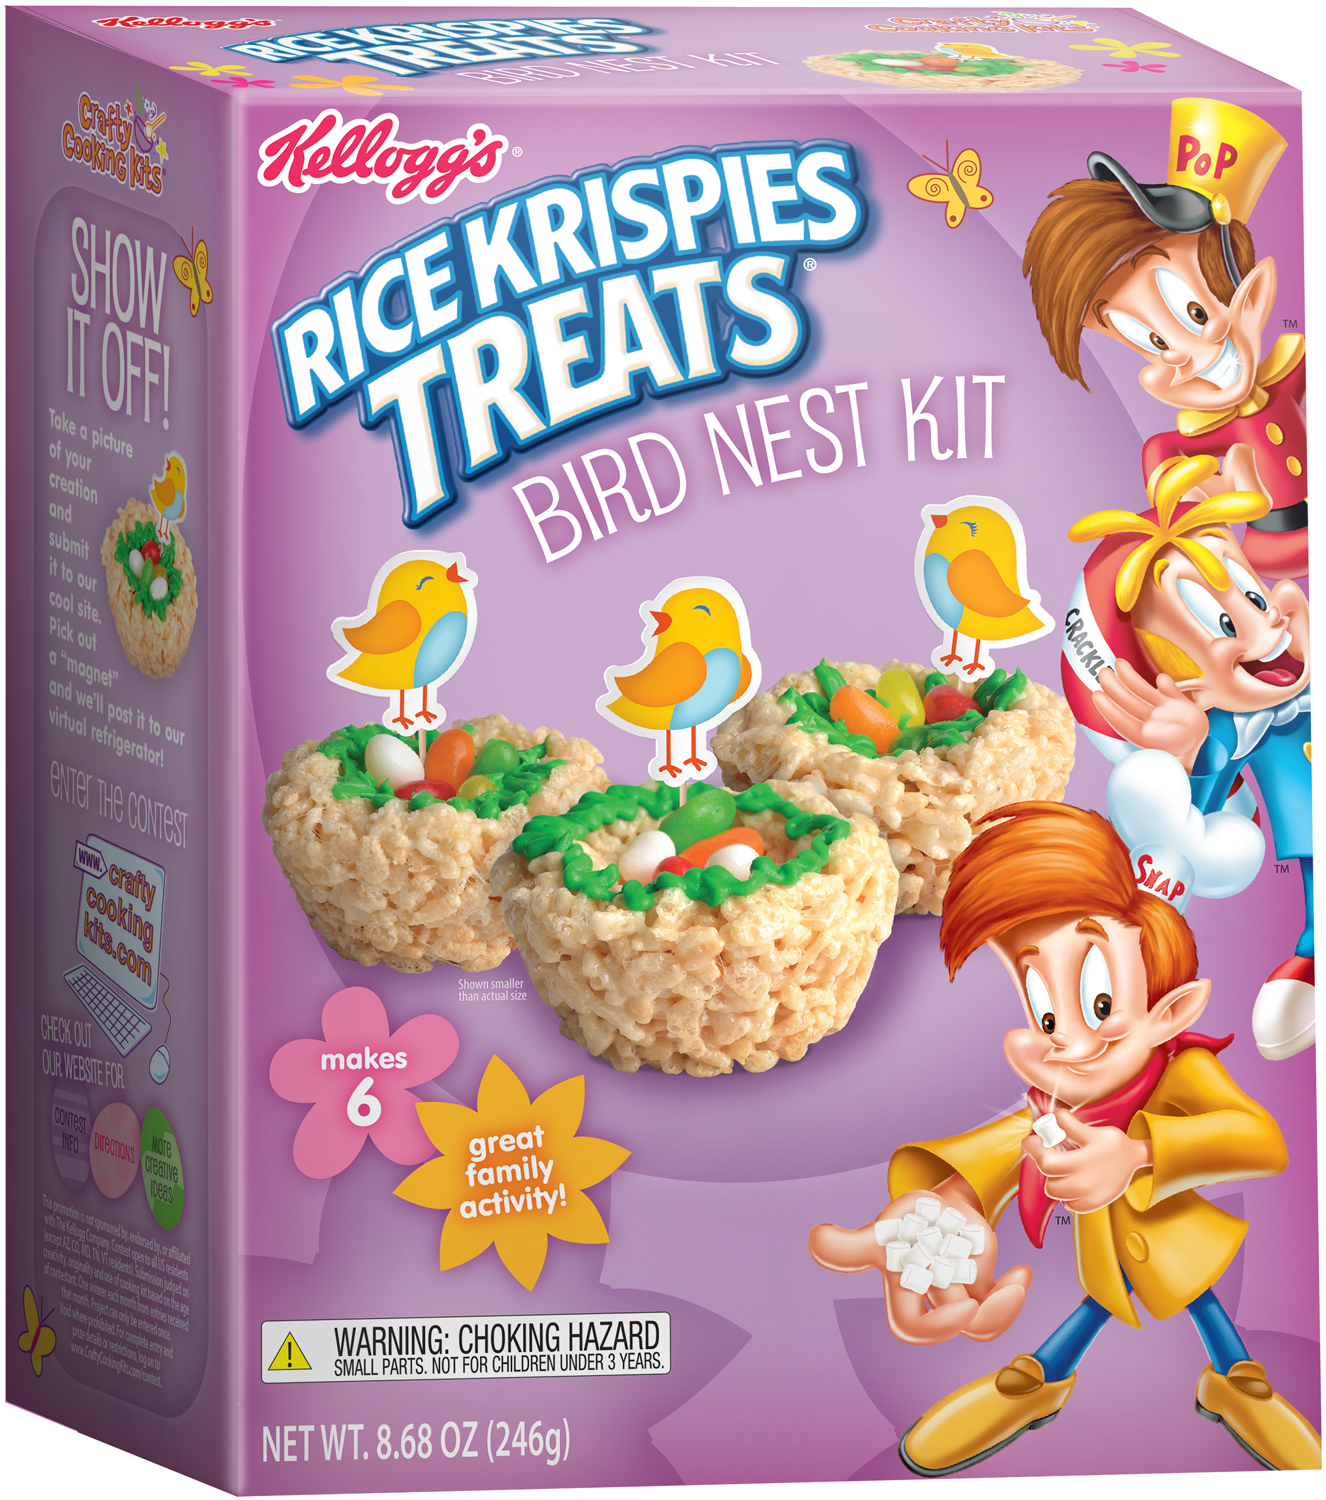
Kellogg’s Rice Krispies Treats Bird Nest Kit
Email These DirectionsYou will need:
2 TBSP. butterDirections:
1. Prepare
KIDS: Be sure to wash hands. Cooking can be messy work. You might want to wear a smock or apron. Empty jellybeans into a small bowl and set aside.2. Heat
ADULTS: Over LOW heat, melt butter in a large saucepan. Add mini marshmallows and continue to heat, stirring constantly until marshmallows are completely melted. Add Rice Krispies cereal, stir well to coat, and remove from heat. Mixture will be warm – transfer to large bowl and allow mixture to stand for a few minutes to make shaping easier.3. Shape
AUDLTS: Coat 6 wells of a muffin pan and kids’ hands with cooking spray.
KIDS: Divide mixture into prepared muffin wells. Press the tops gently to create a small indent in each nest. Remove from the pan and place on piece of waxed paper or clean countertop.4. Decorate
ADULTS: Cut a small tip off the icing pen.
KIDS: Squeeze icing onto rim of each nest to create grass. Fill with jellybeans. Add a bird pick* to each nest. Place Rice Krispies Treats Bird Nests on a serving platter and enjoy.While it may be tempting to save your treats, Rice Krispies Treats Bird Nests are best eaten the same day.
*Remove pick prior to eating.
Yield: 6 RKT Bird Nests
-
Kellogg’s® Rice Krispies Treats® Bat Decor Kit
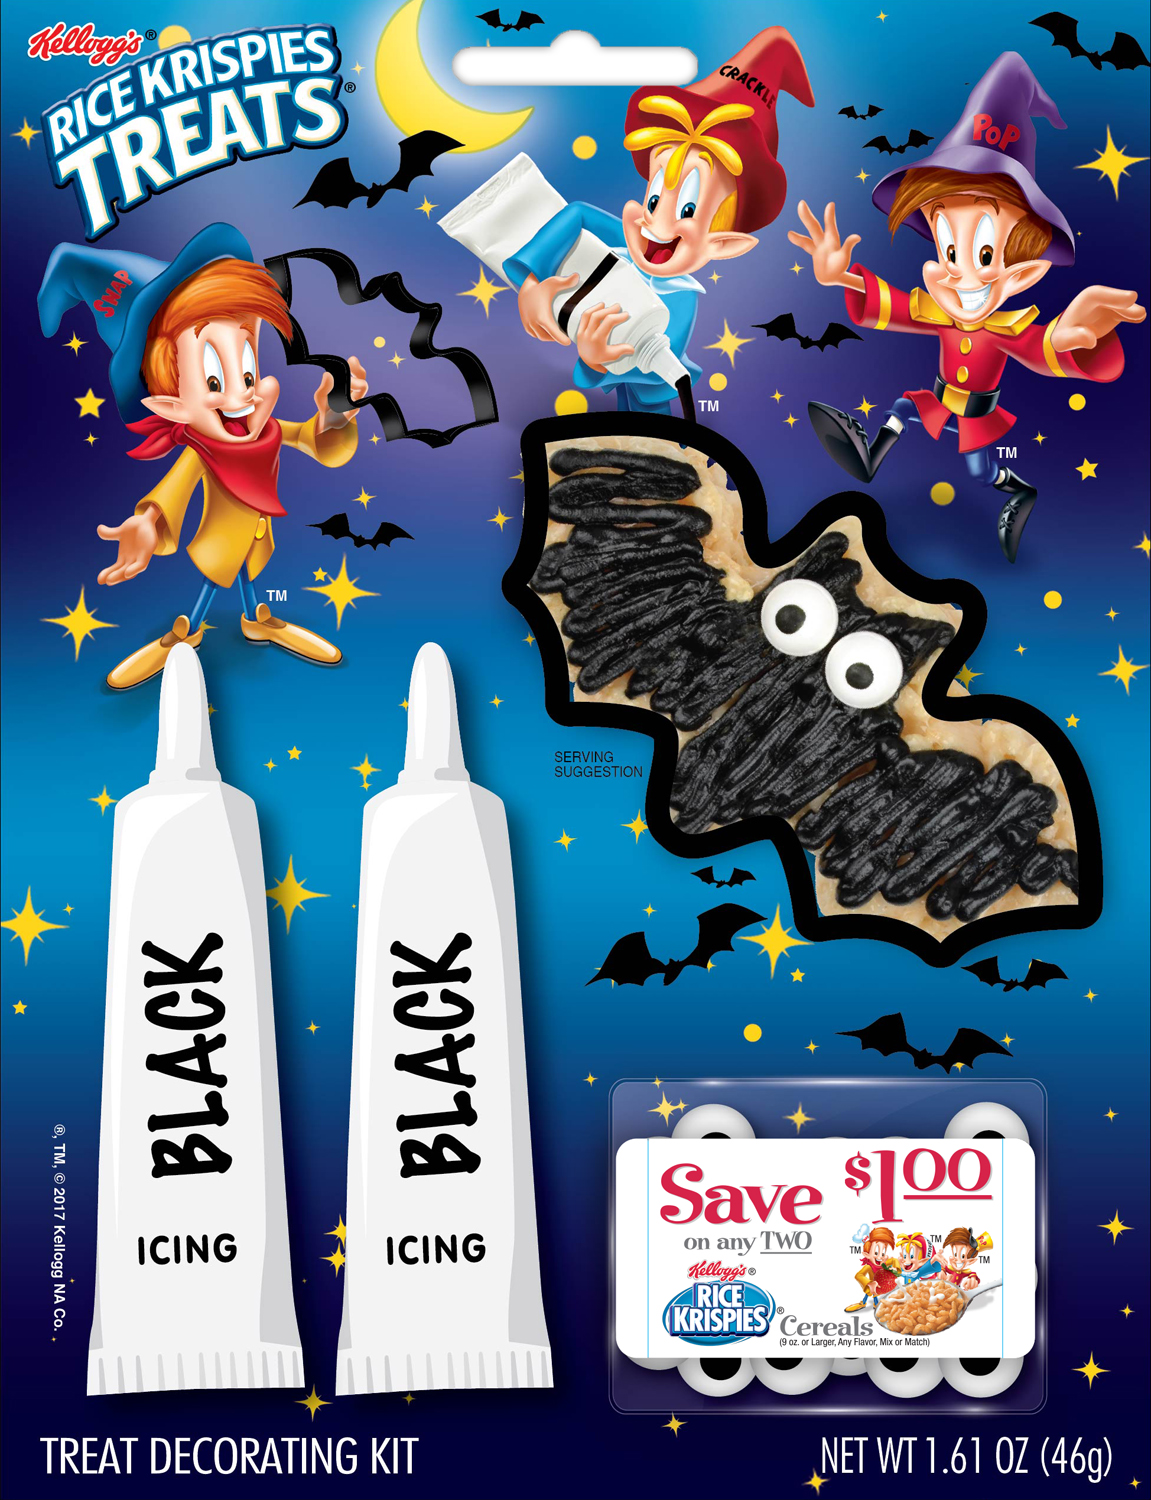
Kellogg’s® Rice Krispies Treats® Bat Decor Kit
Email These DirectionsYou will need:
Kellogg’s® Rice Krispies cereal
butter
miniature marshmallowsPREPARE
1. Hand wash cutter in warm, soapy water and dry thoroughly.
2. Prepare Rice Krispies Treats following recipe on cereal box or online at
www.ricekrispies.com/en_US/recipes/the-original-treats-recipe.html.
3. For each treat, press a small amount of cereal mixture into cutter and pop out to release.DECORATE
Cut small tips from the icing pens and use them to decorate and secure eyes to your treats. Transfer to a serving platter and enjoy! Best if served the same day. -
Kellogg’s® Rice Krispies Treats® Bunny Kit
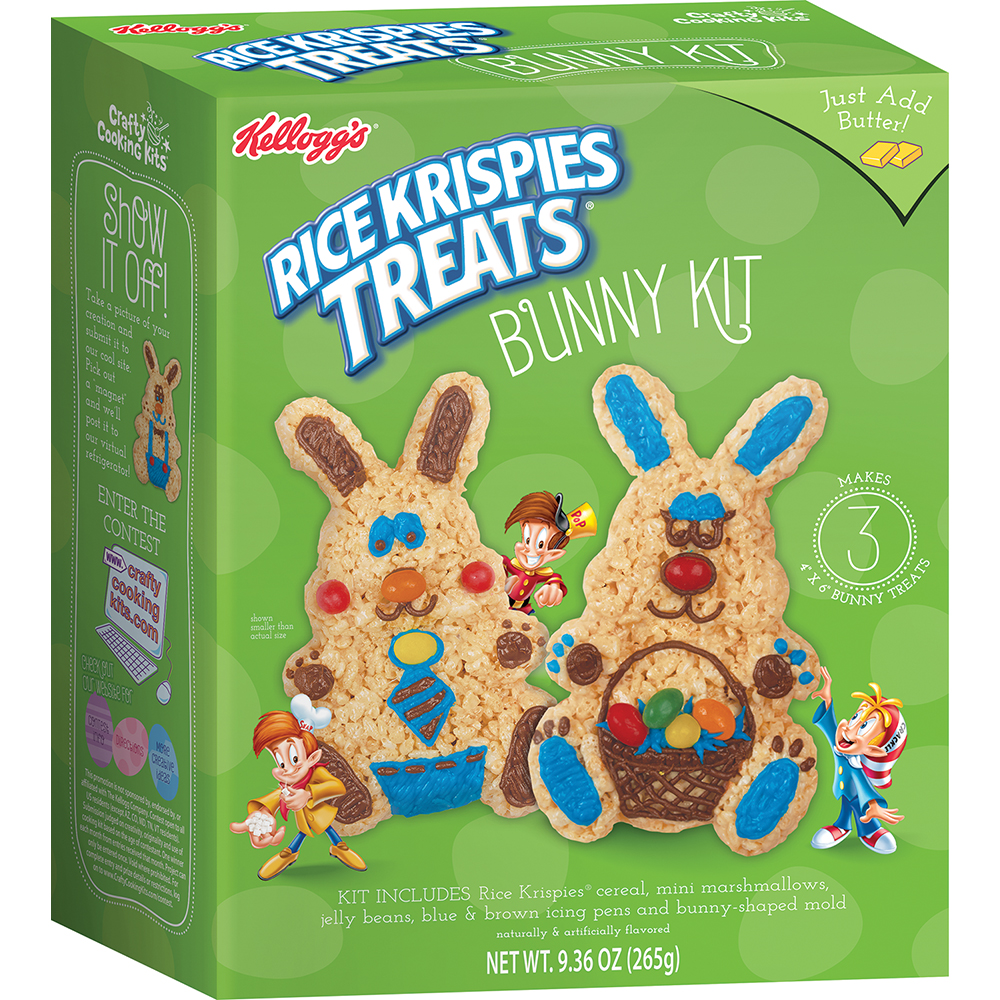
Kellogg’s® Rice Krispies Treats® Bunny Kit
Email These DirectionsYou will need:
2 TBSP butterDirections:
1 Prepare
Adults: Wash bunny mold with warm, soapy water and dry thoroughly.
Kids: Be sure to wash hands. Cooking can be messy work. You might want to wear a smock or apron. Pour Rice Krispies cereal into large bowl.2 Heat
Adults: Melt butter in a medium saucepan over LOW heat. Add mini marshmallows and continue to heat, stirring constantly, until marshmallows are completely melted. Pour over Rice Krispies cereal and stir well to coat. Mixture will be warm – allow mixture to stand for 5 minutes to make shaping easier.3 Shape
Adults: Coat mold and kids’ hands with cooking spray.
Kids: Scoop 1/3 of Rice Krispies mixture from bowl. Press into bunny mold. Flip treat out onto counter top and repeat with remaining Rice Krispies mixture to make 2 more bunnies.4 Decorate
Adults: Carefully cut the tips off icing pens to form small openings. Remove candy from pouch.
Kids: Use icing pens to decorate your Rice Krispies Treats Bunnies and attach candies. Place on serving platter and enjoy!HINT: It may be tempting to save your snacks, but Rice Krispies Treats Bunnies are best eaten within 24 hours.
Yield: 3 Rice Krispies Treats Bunnies
-
Kellogg’s® Rice Krispies Treats® Christmas Tree Decor Kit
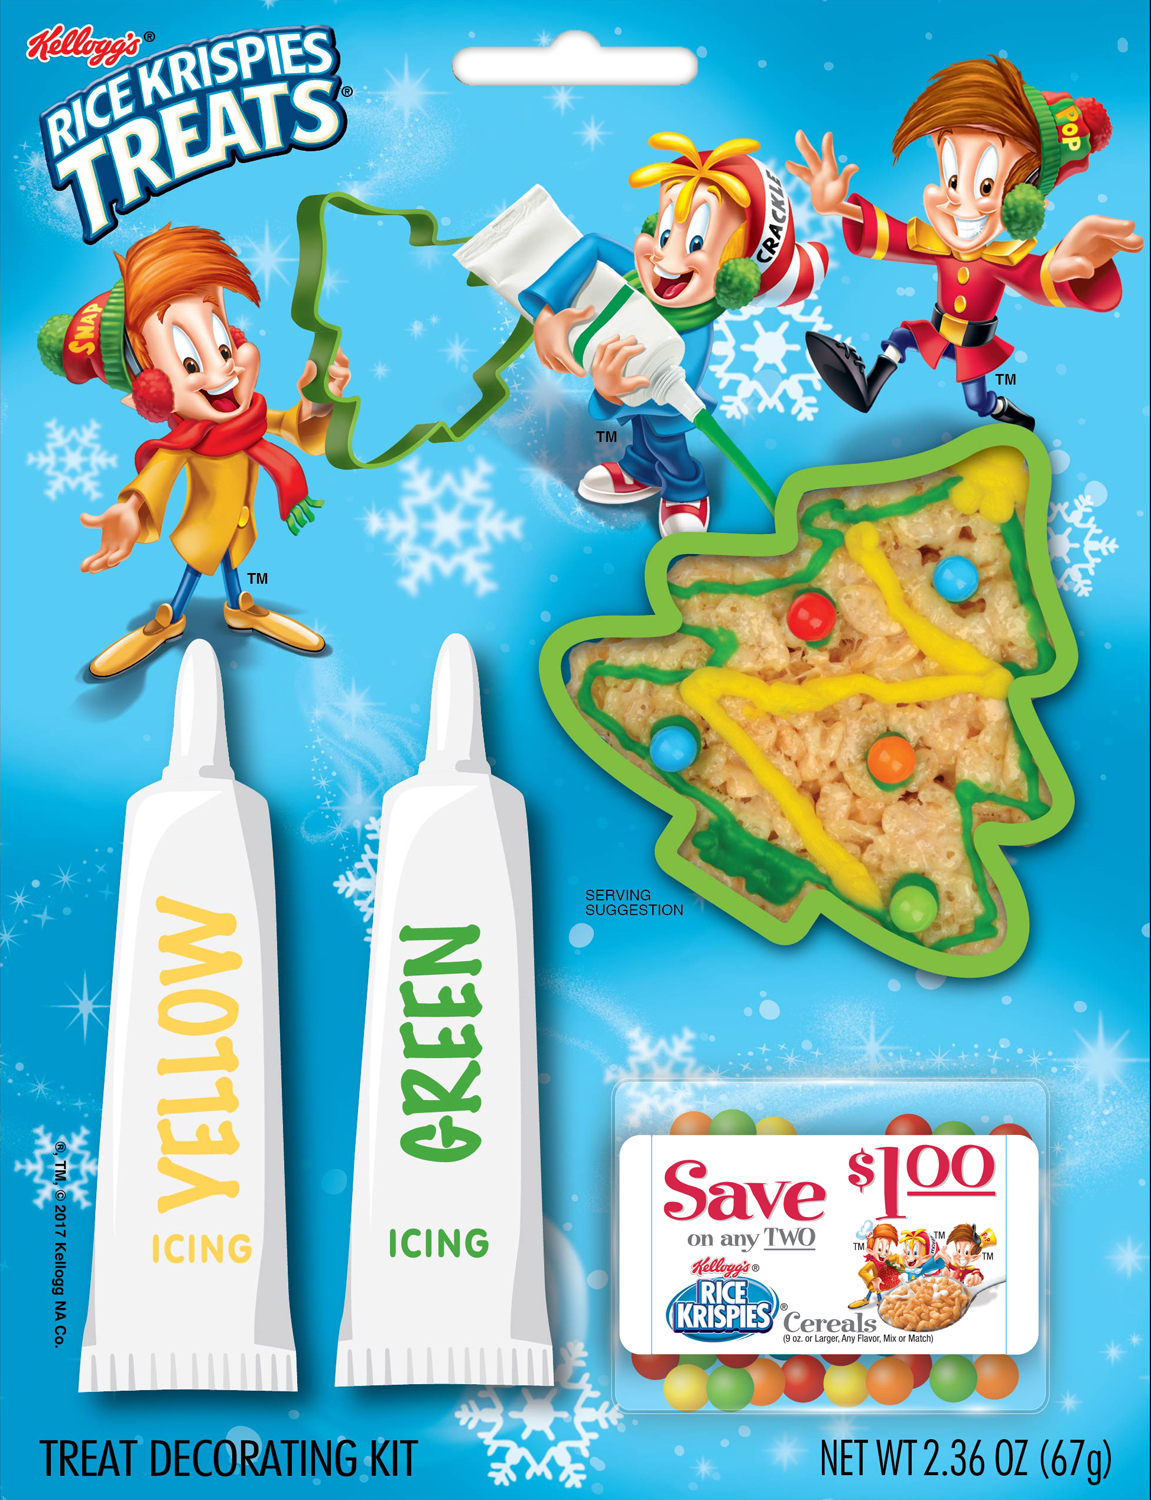
Kellogg’s® Rice Krispies Treats® Christmas Tree Decor Kit
Email These DirectionsYou will need:
Kellogg’s® Rice Krispies cereal
butter
miniature marshmallowsPREPARE
1. Hand wash cutter in warm, soapy water and dry thoroughly.
2. Prepare Rice Krispies Treats following recipe on cereal box or online at
www.ricekrispies.com/en_US/recipes/the-original-treats-recipe.html.
3. For each treat, press a small amount of cereal mixture into cutter and pop out to release.DECORATE
Cut small tips from the icing pens and use them to decorate and secure candy beads to your treats. Transfer to a serving platter and enjoy! Best if served the same day. -
Kellogg’s® Rice Krispies Treats® Christmas Trees Kit
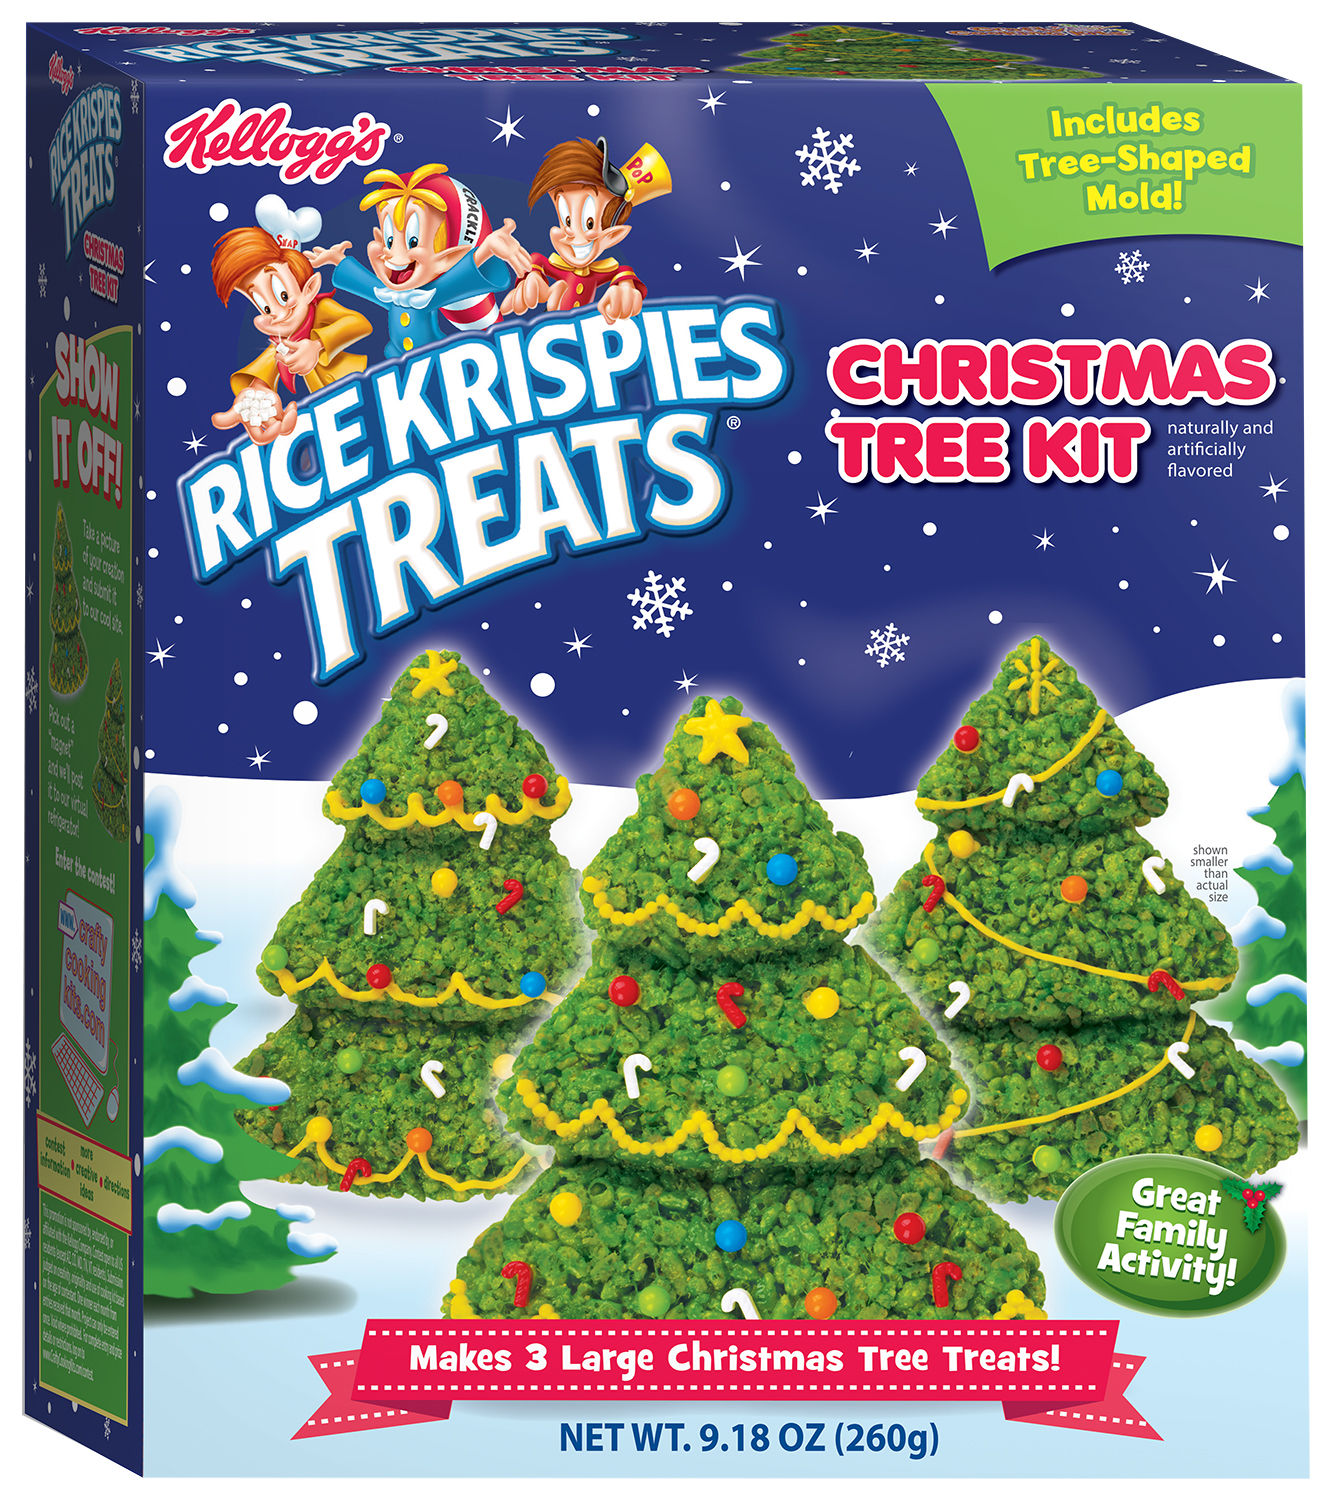
Kellogg’s® Rice Krispies Treats® Christmas Trees Kit
Email These DirectionsYou will need:
2 TBSP butterDIRECTIONS
(Adult Supervision Required)PREPARE
Adults Wash mold with warm, soapy water and dry thoroughly.
Kids Be sure to wash hands. Cooking can be messy work. You might want to wear a smock or apron.HEAT
Adults Over LOW heat, melt butter in a large saucepan. Add mini marshmallows and green color and continue to heat, stirring constantly, until marshmallows are completely melted. Add Rice Krispies cereal, stir well to coat, and transfer to a large mixing bowl. Mixture will be warm – allow mixture to stand for a few minutes to make shaping easier.SHAPE
Adults Coat mold and kids’ hands with cooking spray, butter or margarine. Divide Rice Krispies mixture into three portions.
Kids. Gently press one portion into the mold.
Adults Place hand over mixture inside the mold, flip and tap to release Rice Krispies mixture. Repeat steps for remaining trees. You will have enough left to make two more.DECORATE
Adults Carefully cut tip off icing pen. Remove candies from pouches.
Kids Use icing pen to decorate trees and attach candy beads. Candy canes can be pressed directly onto Rice Krispies Treats. Place trees on a serving tray and enjoy!HINT: It may be tempting to save your snacks, but Rice Krispies Treats Holiday Trees are best eaten within 24 hours.
**Caring For Your Train Mold
Hand wash with warm, soapy water and dry thoroughly after use. NOT TO BE USED IN DISHWASHER OR OVEN.Yield: 3 Kellogg’s RKT Holiday Trees
-
Kellogg’s® Rice Krispies Treats® Festive Sweater Decor Kit

Kellogg’s® Rice Krispies Treats® Festive Sweater Decor Kit
Email These DirectionsYou will need:
Kellogg’s® Rice Krispies cereal
butter
miniature marshmallowsPREPARE
1. Hand wash cutter in warm, soapy water and dry thoroughly.
2. Prepare Rice Krispies Treats following recipe on cereal box or online at
www.ricekrispies.com/en_US/recipes/the-original-treats-recipe.html.
3. For each treat, press a small amount of cereal mixture into cutter and pop out to release.DECORATE
Cut small tips from the icing pens and use them to decorate and secure sprinkles to your treats. Transfer to a serving platter and enjoy! Best if served the same day. -
Kellogg’s® Rice Krispies Treats® Ghost Pop Kit
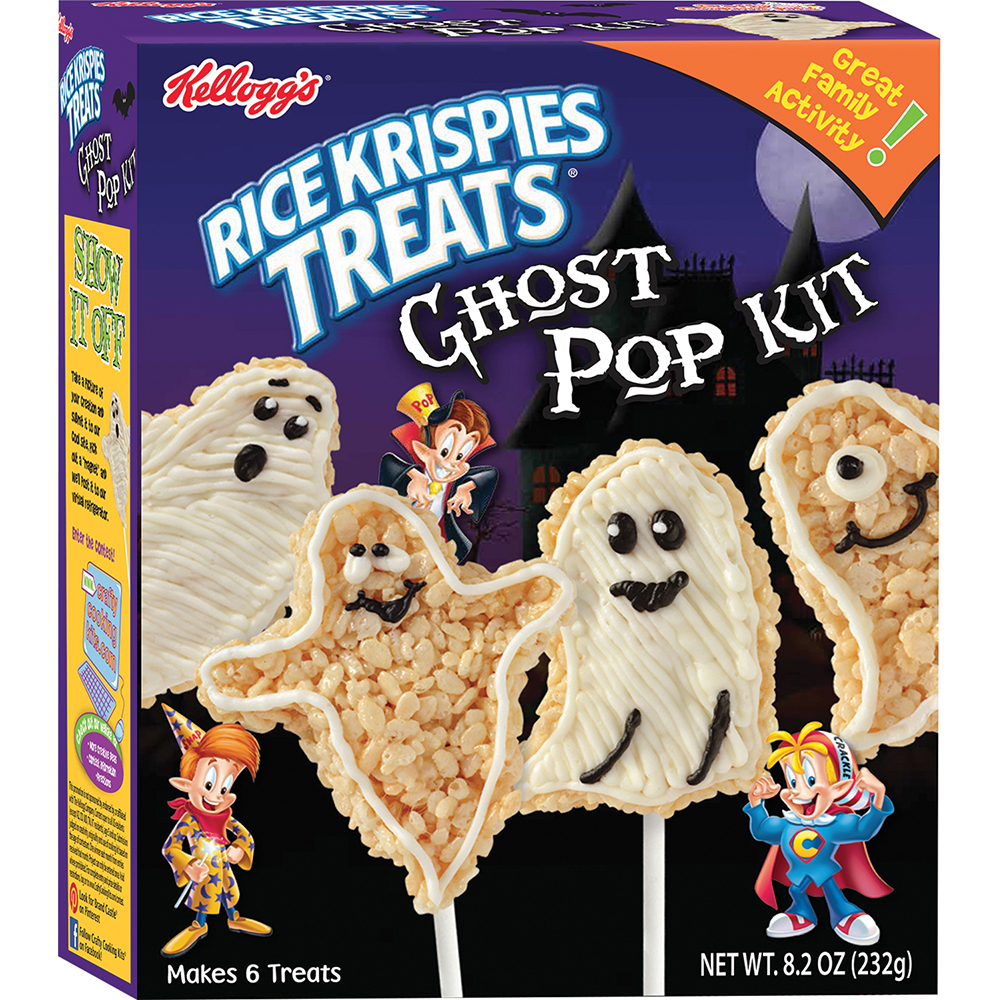
Kellogg’s® Rice Krispies Treats® Ghost Pop Kit
Email These DirectionsYou will need:
For Rice Krispies treats:
2 TBSP butterFor vanilla frosting:
4 TBSP room temperature butter
1 cup powdered sugar
1 TBSP milktall glasses filled with seasonal candies, optional, for displaying and serving
Directions:
1 Prepare
Adults: Wash mold with soap and warm water and dry thoroughly.
Kids: Be sure to wash hands. Cooking can be messy work. You might want to wear a smock or apron.2 Heat
Adults: In a large saucepan over LOW heat, melt butter and add mini marshmallows. Heat, stirring constantly, until marshmallows are completely melted. Add Rice Krispies and stir well to coat. Remove from heat and transfer to a large bowl. Mixture will be warm—allow to stand for 1 minute to make shaping easier.3 Shape
Adults: Coat mold and kids’ hands with cooking spray.
Kids: Scoop a small amount of Rice Krispies mixture from bowl. Press into ghost mold. Repeat to fill other cavity. Flip treats out onto countertop and repeat with remaining Rice Krispies mixture. Repeat to make 6 treats.4 Decorate
Adults: While keeping the treat on the counter, insert a pop stick 3/4 inch into the bottom of each ghost. Make frosting by placing room temperature butter in a stand mixer and beating on HIGH for one minute, or until light and fluffy. Add frosting mix and powdered sugar and beat on LOW just until combined. Slowly add milk and beat icing on HIGH for 1 minute until creamy. Stand piping bag in a tall glass and drape edges over glass to aid in filling. Use a spatula to fill bag with frosting. Cut a small tip off of the piping bag and twist top to close.
Kids: Squeeze a small amount of frosting onto one of the ghosts and use a small spatula to spread as desired. Or pipe an outline around your ghost treats instead. Cut a tip off of the icing pen and add fun facial features.
Adults: Stand ghosts in tall glasses filled with candy corn or other seasonal treats and enjoy!Yield: 6 Kelloggs Rice Krispies Treats Ghost Pops
-
Kellogg’s® Rice Krispies Treats® Gingerbread Man Decor Kit

Kellogg’s® Rice Krispies Treats® Gingerbread Man Decor Kit
Email These DirectionsYou will need:
Kellogg’s® Rice Krispies cereal
butter
miniature marshmallowsPREPARE
1. Hand wash cutter in warm, soapy water and dry thoroughly.
2. Prepare Rice Krispies Treats following recipe on cereal box or online at
www.ricekrispies.com/en_US/recipes/the-original-treats-recipe.html.
3. For each treat, press a small amount of cereal mixture into cutter and pop out to release.DECORATE
Cut small tips from the icing pens and use them to decorate and secure candy beads to your treats. Transfer to a serving platter and enjoy! Best if served the same day. -
Kellogg’s® Rice Krispies Treats® Holiday House Kit
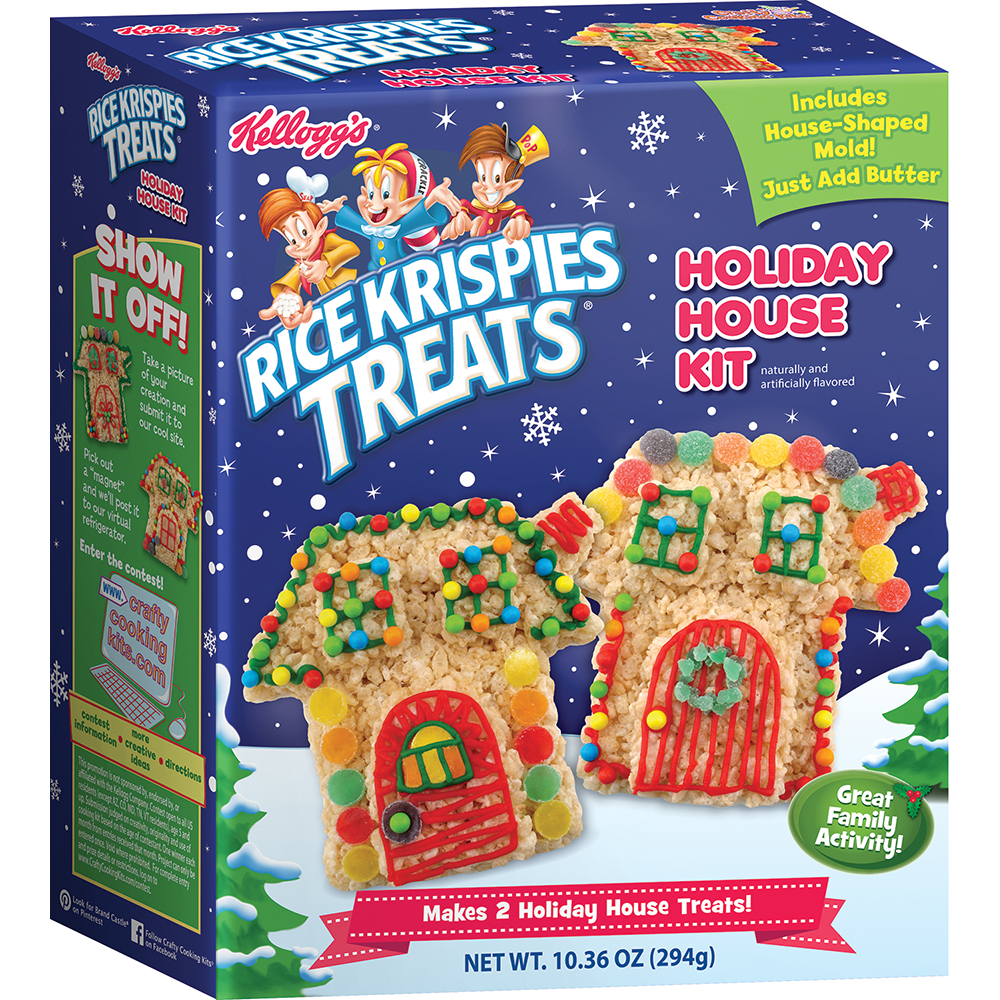
Kellogg’s® Rice Krispies Treats® Holiday House Kit
Email These DirectionsYou will need:
2 TBSP butter1 Prepare
Adults Wash house mold with warm, soapy water and dry thoroughly.
Kids Be sure to wash hands. Cooking can be messy work. You might want to wear a smock or apron. Pour Rice Krispies cereal into large bowl.2 Heat
Adults Melt butter in a medium saucepan over LOW heat. Add mini marshmallows and continue to heat, stirring constantly, until marshmallows are completely melted. Pour over Rice Krispies cereal and stir well to coat. Mixture will be warm – allow mixture to stand for 5 minutes to make shaping easier.
Kids Think about what to create. Draw some ideas on paper with crayons and markers. Visit www.CraftyCookingKits.com for more ideas and inspiration.3 Shape
Kids Coat house mold with cooking spray, butter or margarine. Press 1/2 of Rice Krispies mixture into mold. You will have enough left to make and decorate a second house.
Adults Place hand over mixture inside the mold and with other hand, lift & flip onto clean flat surface or serving tray. Remove hand and tap bottom to release Rice Krispies Holiday House from mold. Repeat steps for a second house.4 Decorate
Adults Using scissors, carefully cut the tips off of icing pens to form small openings. Remove candy beads and gumdrops from pouches.
Kids Use icing pens to draw on Rice Krispies Holiday House treats and attach candies. Place treats on a serving tray and enjoy!HINT: It may be tempting to save your snacks, but Rice Krispies Holiday House treats are best eaten within 24 hours.
Yield: 2 Houses
-
Kellogg’s® Rice Krispies Treats® Holiday Train Kit
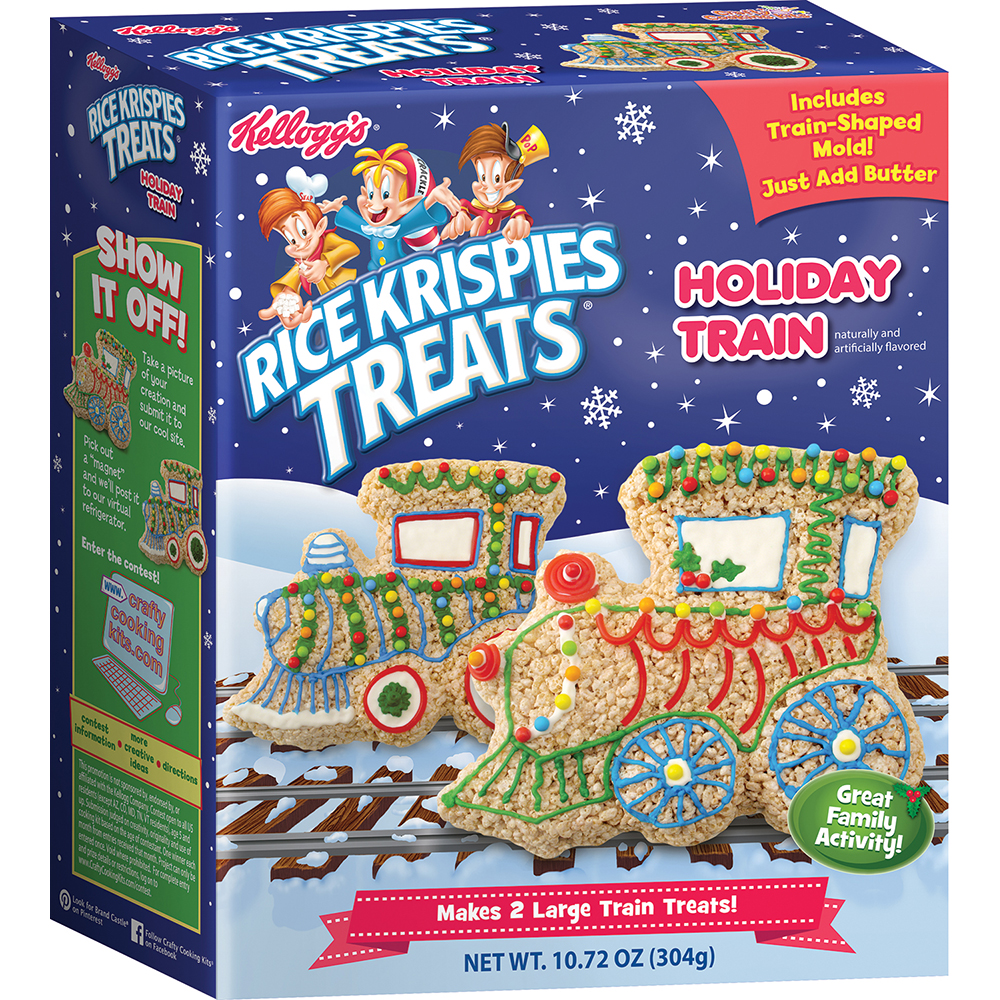
Kellogg’s® Rice Krispies Treats® Holiday Train Kit
Email These DirectionsYou will need:
3 TBSP butterDirections
1 Prepare
Adults Wash train mold with warm, soapy water and dry thoroughly.
Kids Be sure to wash hands. Cooking can be messy work. You might want to wear a smock or apron.2 Heat
Adults Over LOW heat, melt butter in a medium saucepan. Add mini marshmallows and continue to heat, stirring constantly, until marshmallows are completely melted. Add Rice Krispies® cereal and stir well to coat. Transfer to a large bowl. Mixture will be warm – allow to stand for 5 minutes to make shaping easier.3 Create
Kids Coat train mold and hands with cooking spray, butter or margarine. Press 1/2 of Rice Krispies® mixture into mold. You will have enough left to make one more train.
Adults Place hand over mixture inside the mold, lift & flip mold onto clean flat surface or serving tray. Remove hand and tap bottom to release Rice Krispies Treats® Train from mold. Repeat steps for additional train car.4 Decorate
Adults Using scissors, carefully cut the tips off each icing pen to form a small opening. Remove candy from pouches.
Kids Use icing pens to decorate Rice Krispies Treats® Trains and attach candies. Place treats on a serving tray and enjoy.HINT: It may be tempting to save your snacks, but Rice Krispies Treats® Trains are best eaten within 24 hours.
Yield: 2 Rice Krispies Treats Holiday Trains
-
Kellogg’s® Rice Krispies Treats® Monsters! Kit
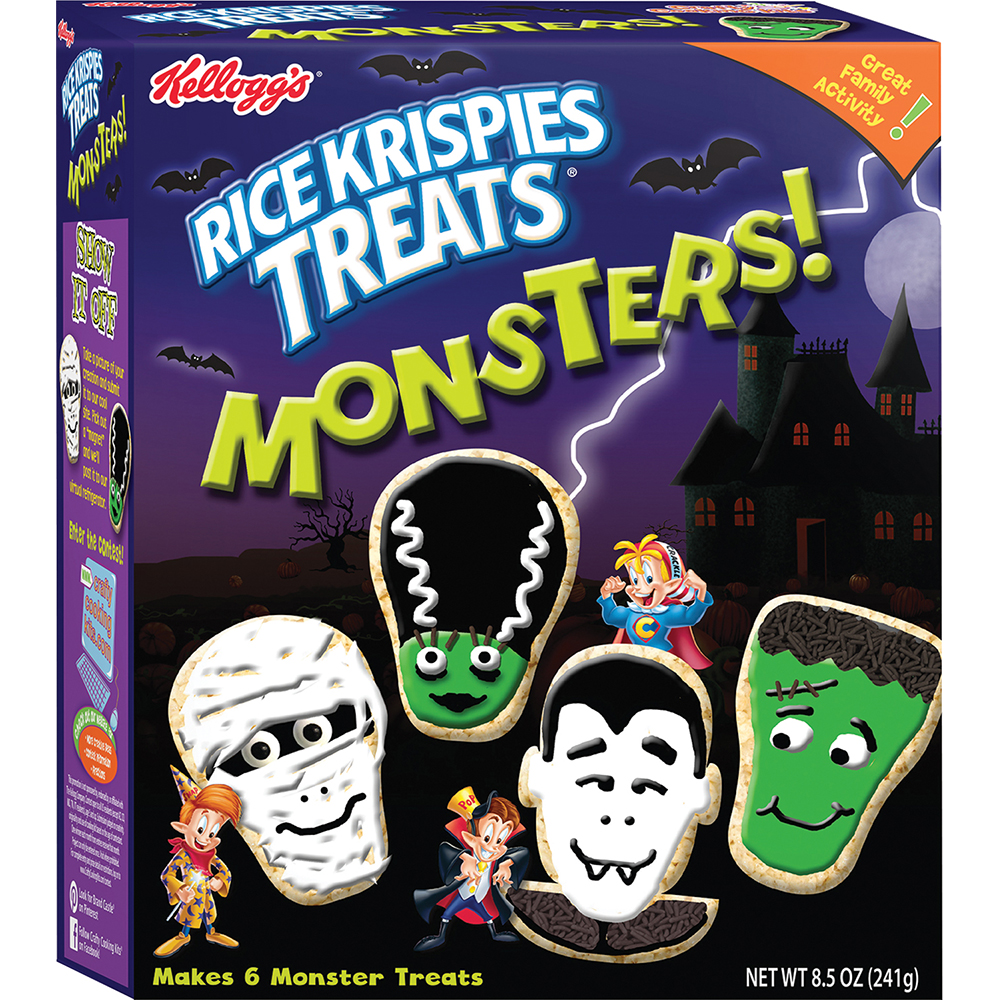
Kellogg’s® Rice Krispies Treats® Monsters! Kit
Email These DirectionsYou will need:
For Rice Krispies Treats
2 TBSP butterFor vanilla frosting:
8 TBSP room temperature butter
2 cups powdered sugar
2 TBSP. milkDirections
1. PREPARE
Adults: Wash monster mold with warm, soapy water and dry thoroughly.
Kids: Be sure to wash hands. Cooking can be messy work. You might want to wear a smock or apron. Pour Rice Krispies cereal into large bowl.
2. HEAT
Adults: Over LOW heat, melt butter in a large saucepan. Add mini marshmallows and continue to heat, stirring constantly, until marshmallows are completely melted. Add Rice Krispies cereal, stir well to coat and remove from heat. Mixture will be warm – transfer to large bowl and allow mixture to stand for a few minutes to make shaping easier.
3. SHAPE
Kids: Coat mold and hands with cooking spray, butter or margarine. Press a small handful of Rice Krispies mixture into each well of mold. Place a plate over mold and flip. Lift mold to release treats. Repeat with remaining Rice Krispies mixture to make 6 shapes.
4. DECORATE
Kids: Prepare frosting by beating room temperature butter with mixer on HIGH until light and fluffy, about 1 minute. Add frosting mix and powdered sugar; beat on LOW until combined. Add milk and beat on HIGH until creamy.
Adults: Divide frosting evenly into three bowls. Working with one bowl at a time, add a small amount of green color powder, stirring well to combine, until desired color is achieved. Repeat with second bowl to make black, but use all of the color powder. Leave the last bowl white. Insert one of the piping bags into a glass and pull edges over rim of glass to hold bag open. Use a spatula to fill with frosting from one of the bowls. Cut a 1/4-inch tip, twist the top of the piping bag to close, and gently squeeze frosting to the tip of the bag. HINT: Cut a small tip, you can always make it larger if you need. Set aside, and repeat process with the remaining frosting and piping bags.
Kids: Empty chocolate sprinkles into a small bowl. Gently squeeze frosting onto each treat, spreading as needed with a small butter knife or spatula. Refer to box for inspiration. Create a mummy’s bandages by piping overlapping strips of frosting across the surface. Squiggly frosting makes fun hair. Press sprinkles into place onto frosting as desired. Transfer treats to a serving platter and enjoy a spooky snack!HINT: It may be tempting to save your snacks, but Rice Krispies Treats Monsters are best eaten within 24 hours.
Yield: 6 Kellogg’s RKT Monsters